
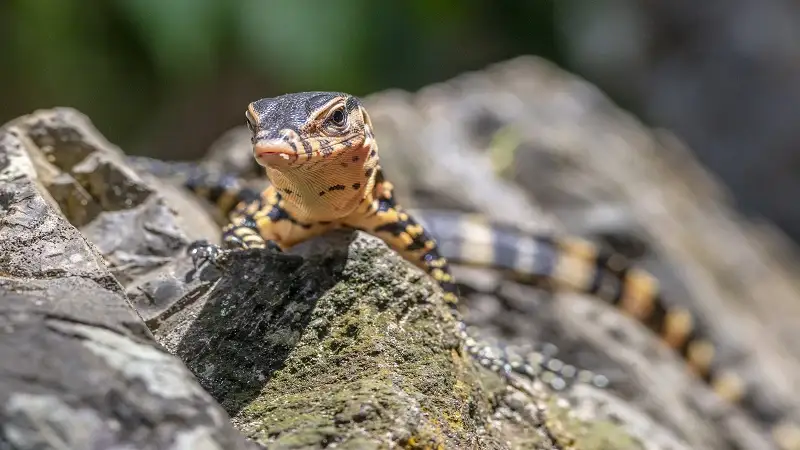
Ready-made setups often fall short on specific size requirements or thermal efficiency, so crafting your own is an excellent solution.
Materials to Choose For the Enclosure Frame
Wood is the most popular choice for the main structural frame. It’s excellent for thermal insulation, which helps maintain the strict temperature gradients reptiles need. Marine plywood and melamine-faced chipboard are the top choices because they handle moisture well and they’re easy to cut to size.
When you design the front viewing panels, you have a choice between glass and plastic options. Many keepers prefer to use perspex sheets because they’re highly impact-resistant and weigh significantly less than traditional glass. They’re also much easier to drill if you need to attach handles or lock mechanisms directly to the viewing screen.
You must ensure that any wood you select is free from toxic resins. Cedar and pine release harmful volatile organic compounds when heated, so you should always stick to safe hardwoods or fully sealed manufactured boards instead of raw softwoods.
How to Manage Ventilation and Airflow
Proper airflow stops stagnant air from building up, which prevents respiratory infections in your reptiles. You need to create a cross-ventilation system by placing vents at different heights on opposite sides of the enclosure. This setup allows cool air to enter at the bottom and warm air to escape through the top.
Plastic or aluminium mesh vents work best for this setup. You can install circular push-fit vents by drilling holes with a holesaw attachment on your power drill. It’s wise to place these vents away from the direct line of your ceramic heaters to avoid losing too much heat too quickly.
For high-humidity species, you’ll need to balance the size of the vents carefully. If the vents are too large, the humidity drops too fast, which means you’ll have to spray the enclosure constantly. You can use adjustable vent covers to fine-tune the airflow until the microclimate stabilises.
Steps to Seal and Waterproof the Interior
Moisture will quickly ruin an unsealed wooden vivarium, leading to rot, warping, and dangerous mould growth. You must seal every internal joint with an aquarium-safe silicone sealant. Standard bathroom silicones often contain anti-mould chemicals that are toxic to reptiles, so it’s vital to check the label carefully before application.
Apply a generous bead of silicone along the bottom edges and up the vertical corners. Use a smoothing tool or a gapped glove to press the sealant deep into the joints to create a watertight barrier. You must let this cure completely for at least forty-eight hours until the strong vinegar scent completely disappears.
For tropical species that require high humidity, you should also apply several coats of animal-safe polyurethane varnish to the wooden panels. This extra layer prevents moisture from soaking into the grain of the wood over time, ensuring the structure lasts for many years.
Effective Heating and Lighting Setup
Reptiles rely on external heat sources to regulate their body temperature, so correct placement of fixtures is vital. You should position your heating element at one far end of the vivarium to create a distinct thermal gradient. This design ensures your pet can move between the warm basking zone and the cooler end as needed.
Ceramic heat emitters and deep heat projectors are excellent for providing ambient warmth. Always install a wire heater guard around these bulbs to prevent your reptile from making direct contact and suffering severe burns. You must also connect every heater to an appropriate thermostat to regulate the output automatically.
Ultraviolet lighting is another critical component for most reptile species. Fix the UVB tube to the ceiling of the vivarium instead of placing it behind solid plastic panels that block the rays. Make sure the light sits within the manufacturer’s recommended distance from the main basking platform so it remains effective.
How to Plan the Ideal Interior Layout
The inside of the enclosure should mimic the natural habitat of your pet while remaining practical to clean. Ground-dwelling species need plenty of floor space and shallow hiding spots, whereas arboreal species require vertical height and sturdy climbing branches. Secure all heavy rocks and branches directly to the frame so they cannot collapse and injure your animal.
Before you add any items from the outdoors, you must sterilise them thoroughly. Boil rocks in water and bake branches in the oven at a low temperature to kill off any hidden parasites or bacteria. This step protects your reptile from wild pathogens that could cause serious illness.
Select a substrate that matches the humidity requirements of your specific reptile. Aspen shavings work well for dry-climate species, while coconut coir and orchid bark help retain moisture for tropical setups. Avoid using artificial grass or gravel, as these can cause impaction if swallowed during feeding.
Closing Up
Once the construction is finished, you must run the entire system for a few days without the animal inside. This trial period lets you monitor the temperature and humidity levels to ensure the thermostats are working correctly. It’s also a great way to give any lingering scents from the sealants a final chance to dissipate completely.
Check all doors and sliding panels to ensure there are no gaps large enough for an escape. Reptiles are notoriously good at finding weak spots in custom builds, so it’s always a smart investment to add a reliable vivarium lock. Taking these extra precautions ensures your custom build is a safe, thriving environment for your pet. See More